Building an IT Home-Lab Network | Introduction
Table of Contents
Introduction
Welcome to the start of a series of posts on building a complete network for the IT home lab. These posts cover how I replaced my ISP-provided router-modem all-in-one box with more capable (while affordable) gear that became the foundation for my home lab.
Scope
I am documenting how I started my at-home infrastructure by:
- Configuring a Cisco C887VA router to act as a VDSL modem.
- Setting up an old computer as a pfSense router.
- Configuring an SG500 Cisco switch with VLANs.
- Deploying an access point for Wi-Fi with network segmentation.
- Setting up all the basic services needed network-wide: DHCP, DNS, NTP, etc.
- Implementing telephony for the home on this new gear (VoIP configuration).
- Making IPTV work by utilizing an IGMP proxy.
This process gave me a deeper understanding of networking protocols and ISP services. It was a fun challenge that helped me learn and practice real skills.
This is as far as this series will go, but I plan to add more in the future.
While revamping a whole network this way is not necessary for most home labs (unless you are focusing on networking), it gives you the freedom to emulate real-world setups well beyond running everything in VMs.
I also personally believe every professional in IT operations should be able to configure something similar confidently.
Goals of this series
My aim with this blog series is twofold:
- Documentation – keeping track of what I built, why I built it and how it all fits together.
- Guidance – sharing enough details so that others can follow along, adapt or get inspired for their own labs.
- The level of explanation might not satisfy someone who is just getting started with networking but if that’s the case please try to fuel your curiosity and research anything you might not understand.
The starting point
Here’s where I began:
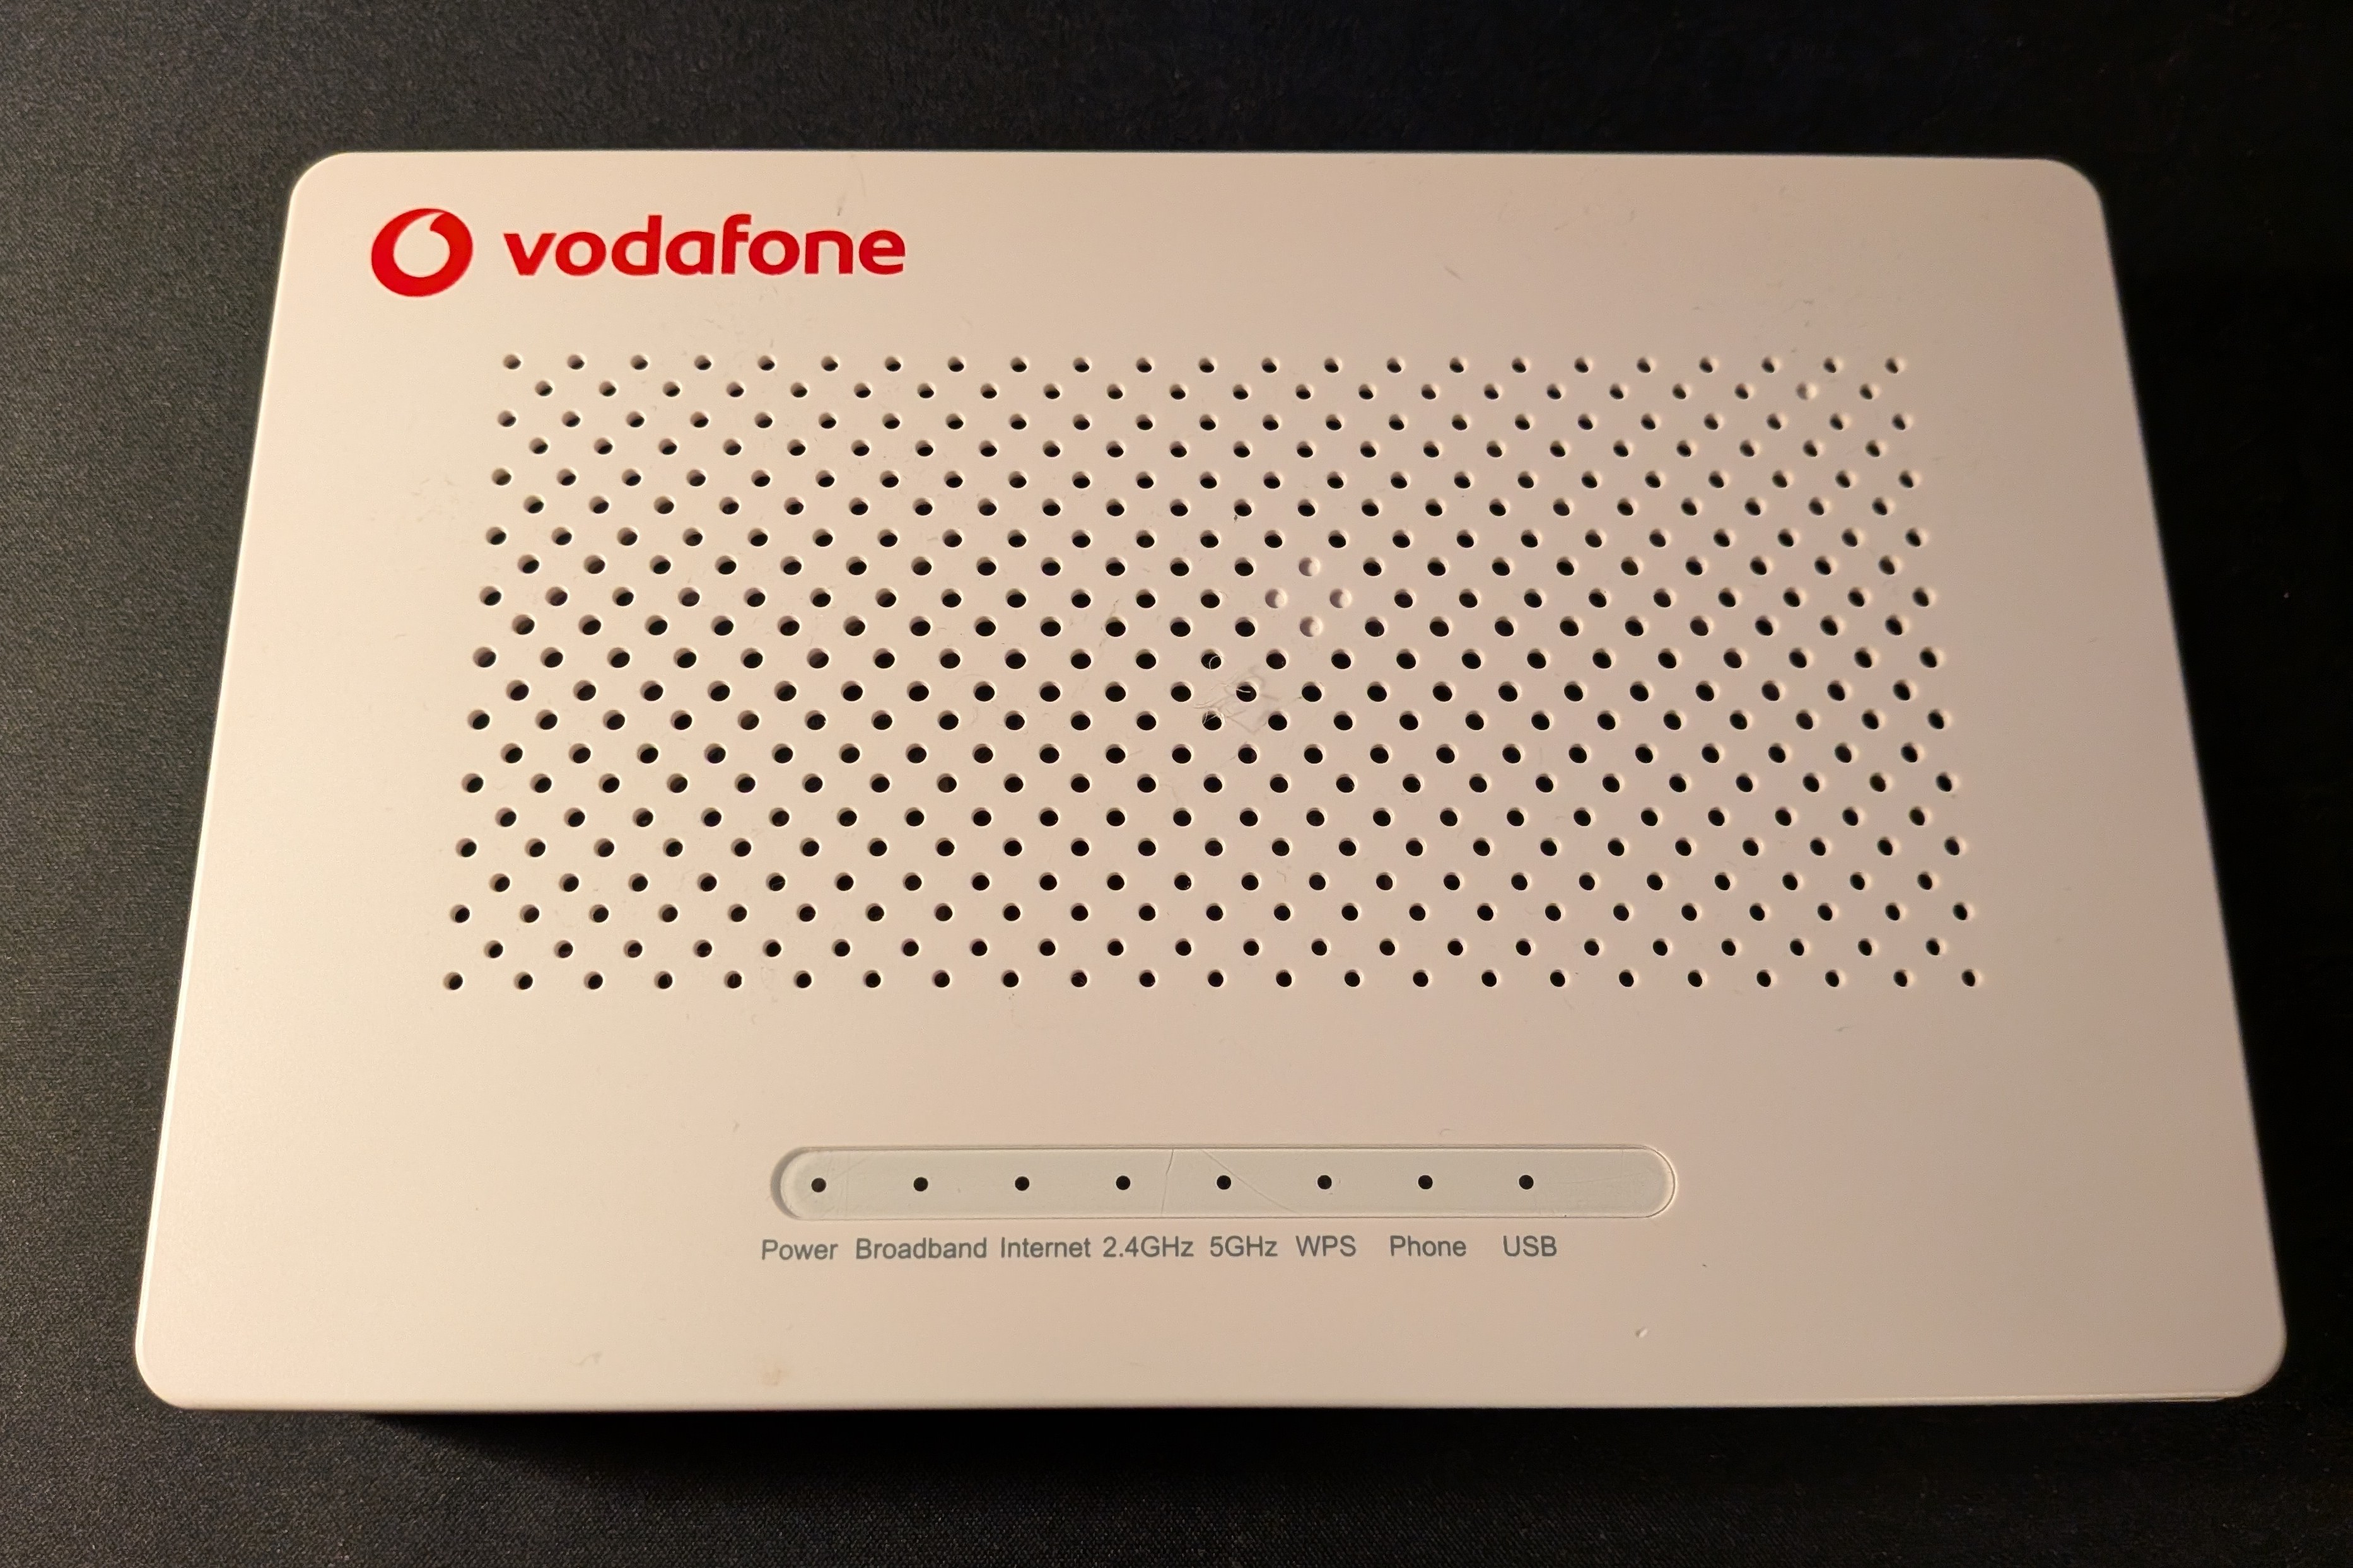
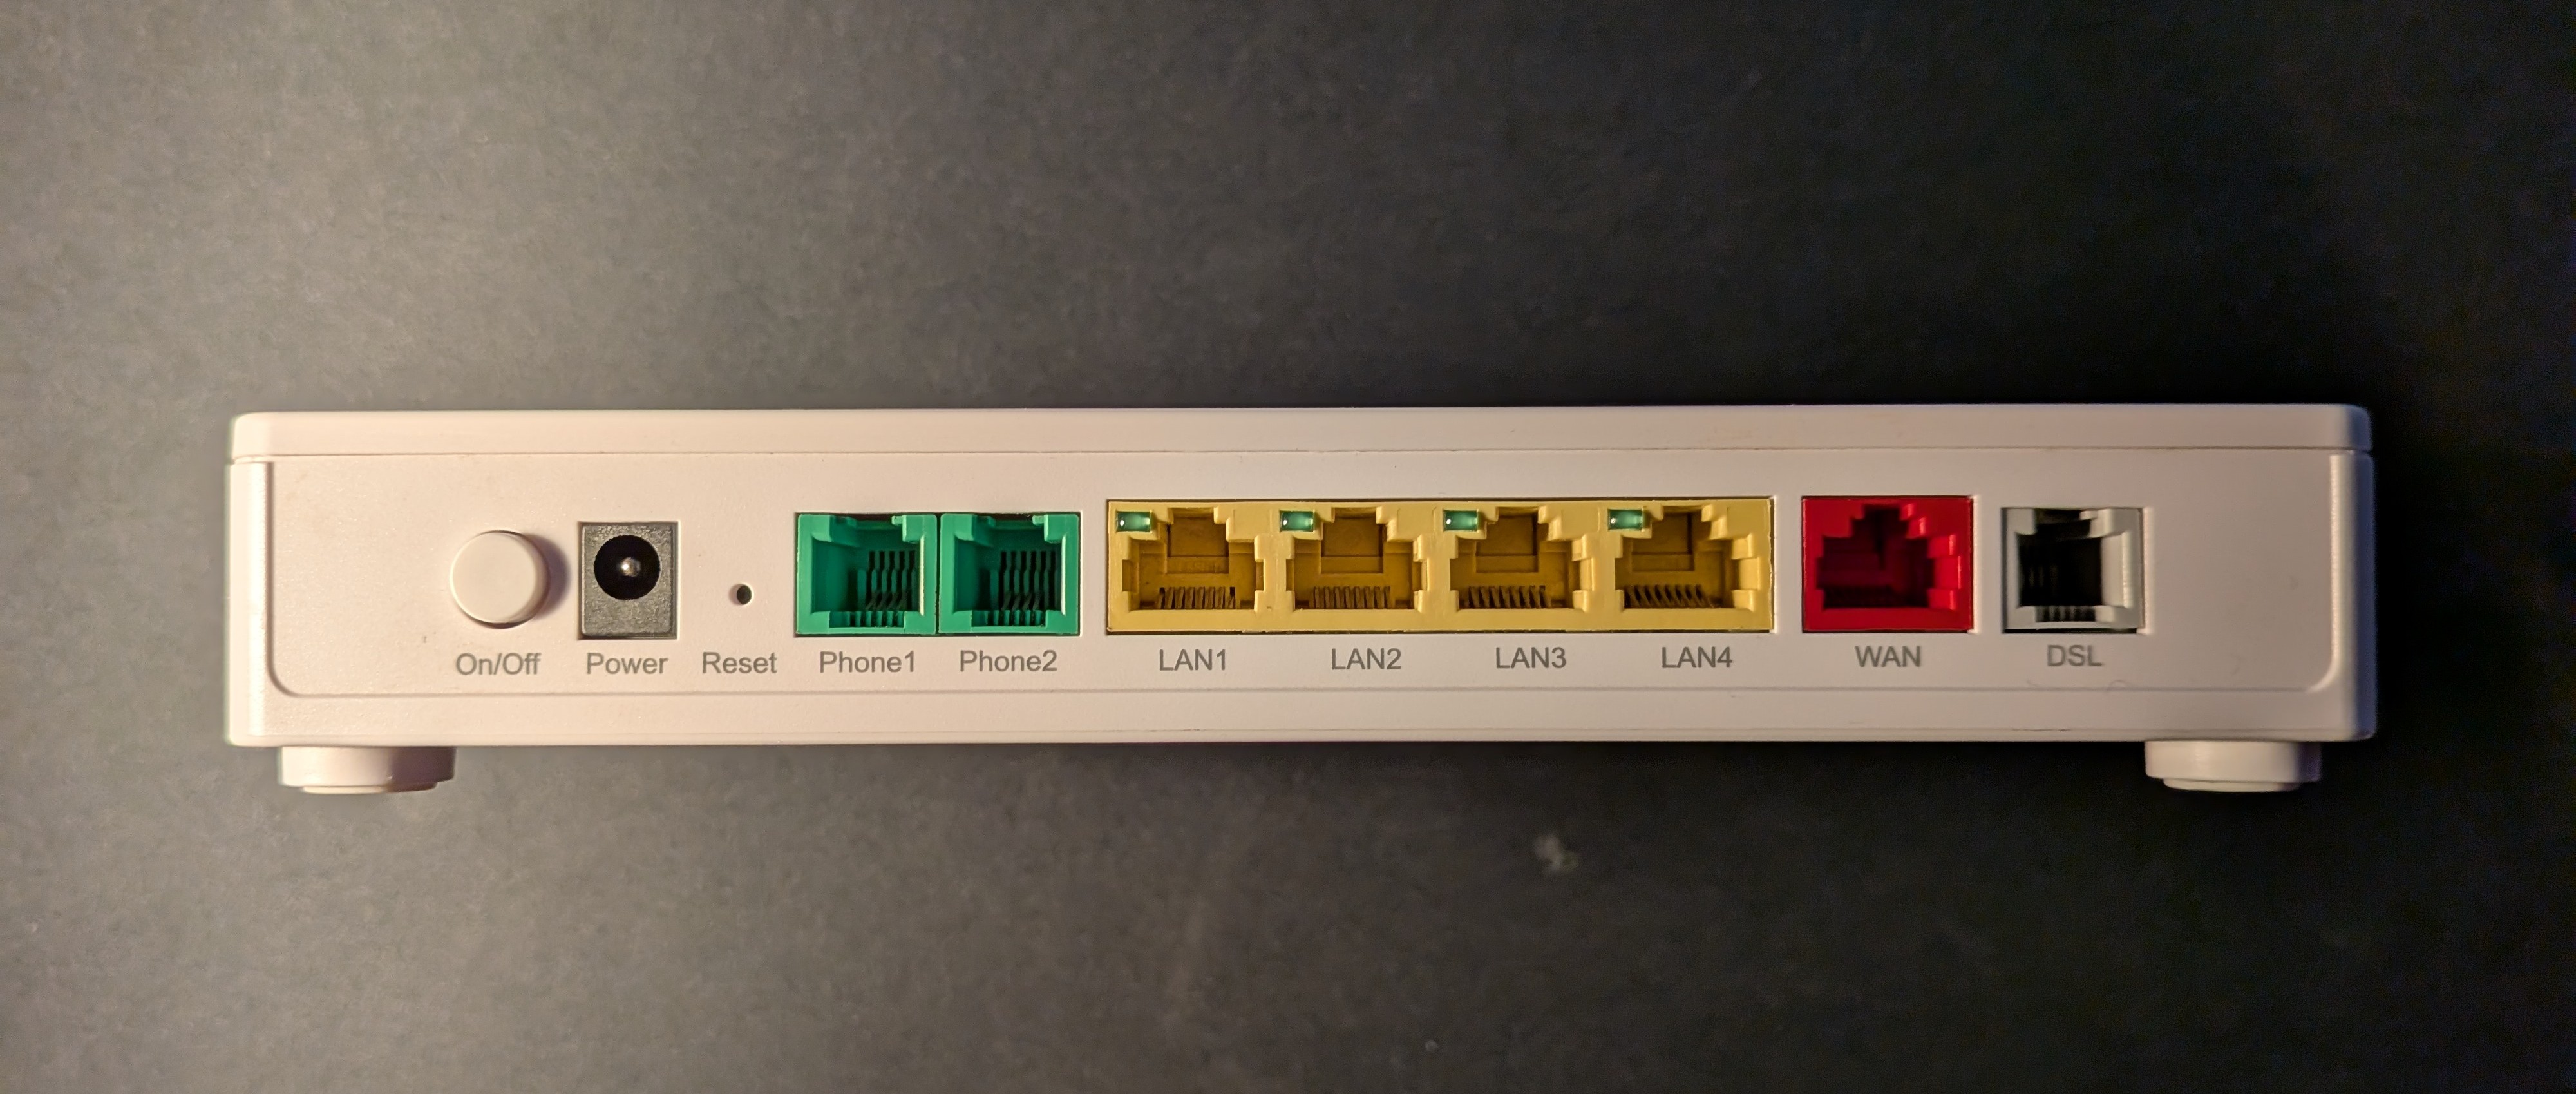
- A ZTE “ZXHN H267A” from Vodafone ISP, It’s a VDSL modem, router, switch, AP, ATA and more…
- Old and never patched by the ISP.
- Limited capabilities.
- Not cool.
- My first modification was running this device in bridge mode so pfSense downstream could get a public IP.
- Eventually, I wanted to remove it entirely, so this means replacing all the functionality.
- The tricky part is that all services are provided over a VDSL connection so we will need a modem of some sort.
- More traditional needs are: a router, switch and AP for wi-fi.
- Also an Analog Telephone Adapter (ATA) to use analog phones with the VoIP service provided.
The gear I ended up with
-
Cisco C887VA Integrated Services Router
- This will be our modem.
- Picked up for less than 50 euros used.
- Has a built-in VDSL controller, designed for POTS connections like the Vodafone device.
- Downsides: end-of-life (EOL), no access to the latest firmware, it’s an SMB product, not enterprise-grade.
- Still, a major upgrade over the ZTE in security and features.
- In a business scenario I would never recommend EOL gear, but in a lab it’s fine.
- I configured it as a layer 2 device only.
- pfSense downstream handles security and routing.
-
pfSense on old PC.
- Our router.
- Built with an Intel Gigabit NIC: cheap and reliable!
-
Cisco SG500 24 port switch.
- Another bargain, also under 50 euros.
- Same downsides as the C887VA (EOL, SMB) but also no IOS.
- Still a powerful and stable platform for lab work.
- Security-wise, sticking to layer 2 only and not exposing it online makes it acceptable.
-
TP-Link WA1801 Access Point
- VLAN support and affordable.
- Management interface sends untagged only (a limitation, but workable).
-
Grandstream HT802V2 ATA
- Chosen for VoIP to keep using the home phone.
This is what it all looks like put together:
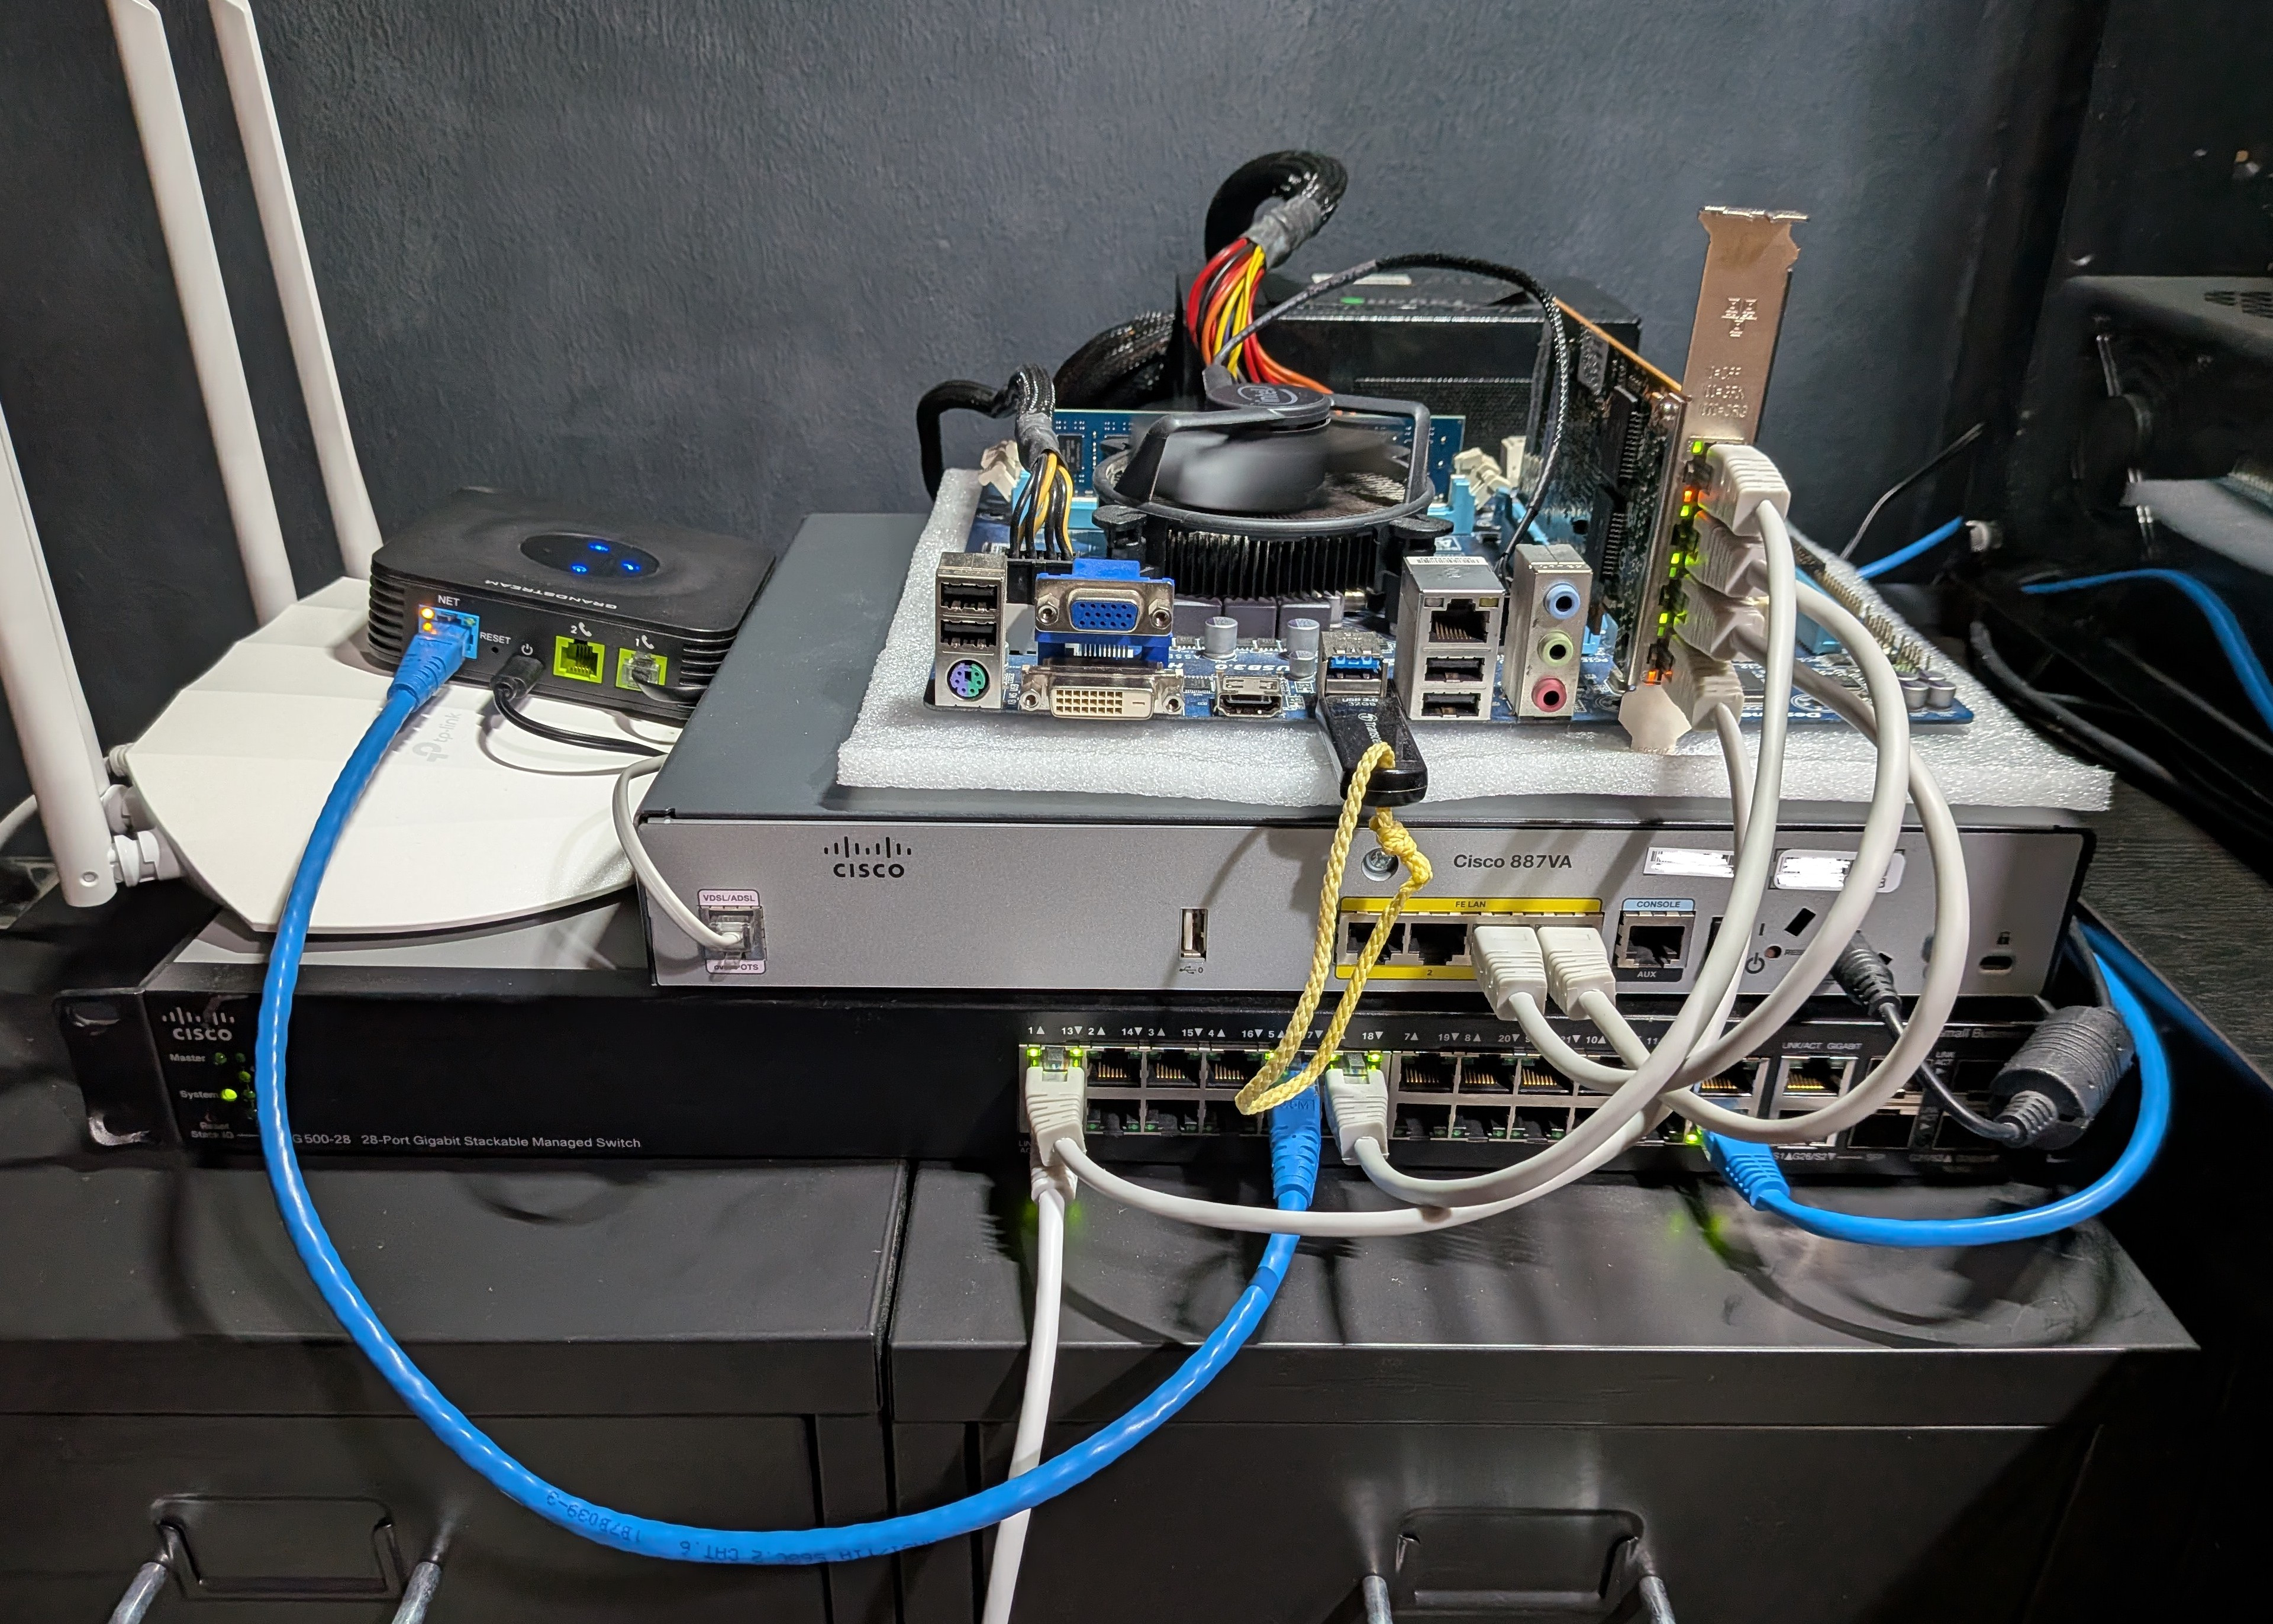
Not the cleanest build, but it’s a lab after all. I plan to rack everything properly at some point.
Notes and suggestions
I’m happy with this setup and would recommend something similar. It’s up to you whether you want to use EOL products in a lab, just be aware of the risks.
Used Catalyst gear is another option, but keep in mind: usually loud fans.
Whatever you choose, make sure everything supports at least Gigabit.
Plans/ diagram of end - result.
End result will be this topology
.png)
To clarify some things:
The way I’ve visualized the interfaces might be a bit confusing.
I wanted to show how in some cases traffic comes in through the physical interface (depicted as a dot outside of appropriate devices)
and then may be processed by the appropriate subinterface depending on VLAN tags.
Interface names, types, VLAN naming, etc. will all start making sense as we go along.
This is a high-level view of the whole topology and future posts will provide more specific details
that are omitted here.
The most important ones are:
- The C887VA has also been configured with three SVIs (vlan interfaces), one per VLAN.
- Three bridge groups have also been configured, one per VLAN.
- This way traffic gets bridged from the subinterfaces (that normally don’t function like layer 2 ports) to the switch-ports of the device.
- Sub-interfaces igb1.837 and igb3.837 on pfSense are bridged.
Next part: Building an IT Home-Lab Network | Part 1: ISP configuration parameters